Creating a Bluetooth Temperature Sensor using ESPHome
There are a plethora of ESP32 add-ons to monitor and log temperature into ESPHome or Home Assistant. But sometimes it’s nice to walk around your home and see the temperature in the rooms, without accessing your home automation hub. In this guide, we’re going to look at setting up a physical (wireless) thermometer, connecting to it ESPHome via Bluetooth and then pushing that data into Home Assistant.
Getting Started
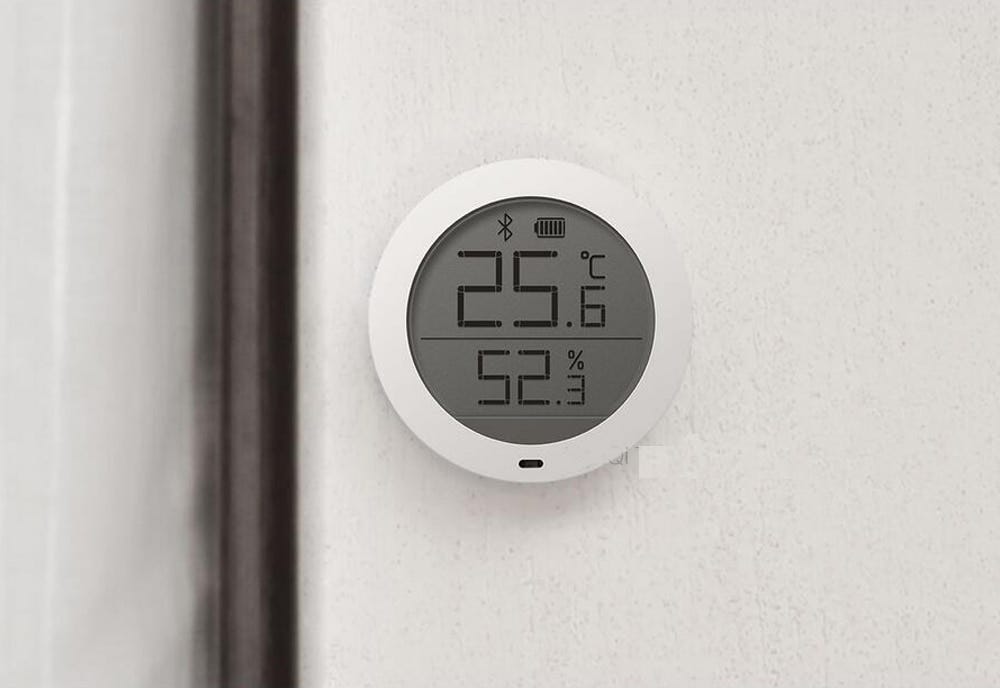
Not to long ago, I came across the Xiaomi LYWSDCGQ Bluetooth Low Energy device, which is a battery-operated thermometer and hygrometer. It has an LCD display which is clear and concise, and helpfully shows the temperature, humidity and battery level. I believe Xiaomi has made this model end-of-life and is bringing out a newer model, but the LYWSDCGQ can still be found online (I’ve linked some resources below). Once you have the device, pop in a AAA battery (not included), and keep it nearby whilst we move onto the other steps.
Note that from personal experience, I’ve found the consistent operating range of an ESP32 → LYWSDCGQ to be up to 8m. Anything more than this, and the connection becomes flaky. Beware that walls and furnishings can further diminish this range.
Before we get into it, you’ll need to have the ESPHome integration set-up in Home Assistant. To add this, just head over to your Configuration page in Home Assistant, select Integrations and click the Add/Plus icon in the bottom right corner. You’ll be presented with a search module where you can search for the ESPHome integration, and install.

Making It Work
For this guide, I’ll assume that you’ve already set-up your ESP32 device in ESPHome, and its state is Online. Next, click EDIT to bring up the YAML Editor window. This Editor is where you can define sensor and settings for your ESP32 and its integrations.
FYI: There’s a helpful list of available integrations on the ESPHome website.

First, let’s ensure that the BLE Tracker is defined and working, by adding the line esp32_ble_tracker:, note that there’s nothing needed after the colon. Then let’s create a sensor where we define the BLE device, first via naming the platform - platform: xiaomi_lywsdcgq, then by telling ESPHome its MAC address. And lastly, define your Sensor Names for temperature and humidity as you want them to be known in Home Assistant.
Note that the LYWSDCGQ platform can also report on battery level, if required. This sensor listens passively to packets the Xiaomi device sends by itself; this means that ESPHome has no impact on the battery life of the device, which is already fantastic itself. The AAA battery will last months, maybe even years, before requiring a change.
Here is the full code in YAML:
Finally, it’s time to get the device set-up and connected. Click upload in the bottom right hand corner of the Editor window, and ESPHome will compile the code, and upload it OTA the your ESP32. Near the end, you should start to see the temperature and humidity values being reported onscreen. Once you see boot seems successful, resetting boot loop counter, you can stop the activity, and Restart Home Assistant to activate the sensors.
Note that if you are not seeing the ESP32 connect to the LYWSDCGQ, there is a small BLE connect button on the rear of the device, which you can hold for 3–5 seconds to put the device into pairing/discovery mode.


At this point — ESPHome should be pushing Temperature and Humidity values into Home Assistant, via the integration. Now you can display and track these in your home!


