Configuring an Internet Speed Test sensor in Home Assistant
There might be a number of reasons you want to monitor your internet speed: troubleshooting speed issues, checking that your ISP is delivering what they’ve promised, or just plain curiosity. Helpfully, there are Internet Speed Test integrations for Home Assistant that we can make use of.
In the Home Assistant Integration “store” there are two speed test add-ons, being: Speedtest.net and Fast.com. The key difference is that Fast.com only measures download speed, where Speedtest.net is more comprehensive. I will be using the Speedtest.net integration for this guide.
2021 Update: With the release of version 2020.12 of Home Assistant, the team have launched Blueprints — and there’s a lot there — but a key benefit is that you can import a blueprint into your system and configure it in-flight. No need to set up any variables or YAML; how convenient. Head to the link below to read about an easy-to-use blueprint for this speed test automation:
Getting Started
Speedtest.net can be added via the User Interface (UI) so head over to your Configuration page in Home Assistant, select Integration and click the Add/Plus icon in the bottom right corner. You’ll be presented with a search module where you can search for Speedtest.net.

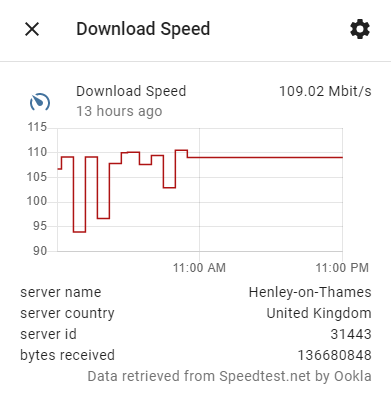
Speedtest.net provides the following sensors: Ping sensor: Reaction time in ms of your connection (how fast you get a response after you’ve sent out a request). Download sensor: The download speed (Mbit/s). Upload sensor: The upload speed (Mbit/s).
Once added you, have an option of including which sensors you want to monitor and also if you want it to run automatically (default is once an hour), or manually. Once set up, you will see an Integration Tile, where you can see the entities created, rename the integration and change the options.

If you do nothing further at this stage, you already have upload, download and ping sensors that run every hour and log their performance. The challenge is that running a speed test is very taxing on your internet bandwidth, and will almost certainly impact any other activities that are happening, e.g. streaming, video calls, games, etc. To keep this sensor in check, we are going to set-up an Automation to run daily at a quieter time.
Before you go any further, please ensure that you set the Speedtest to Manual — this can be done by going into Integrations, selecting Options on the right Speedtest tile, then checking the box next to Disable auto update.

Making It Work
A good time to run the speed test is when no one is home, or when everyone is sleeping. I’ve chosen to go for the later, where the Trigger is the sunrise. As the winter sunrise in the UK can approach normal working hours, I’ve also added an offset for this to start even earlier. This means it runs between 04:15 (Summer) to 08:30 (Winter) over the year.
Furthermore, I’ve added a Condition that if the power for my computer is on (e.g. browsing/working), then the speed test won’t run. This is just an extra precaution, should I be working early. Lastly, ensure that the Running Mode is set to single, to minimize multiple concurrent or consecutive runs.
Blueprint
Please use the GitHub link, to import the blueprint; the code below is included for interest.
Note: The YAML below is a Home Assistant blueprint, and you can import it directly into Home Assistant within the Blueprints area. For working with Blueprints, please check out this page.
